Guide: How to have Clients Upload Forms Directly to Worthy
Last updated: September 30, 2026
Advisor Actions
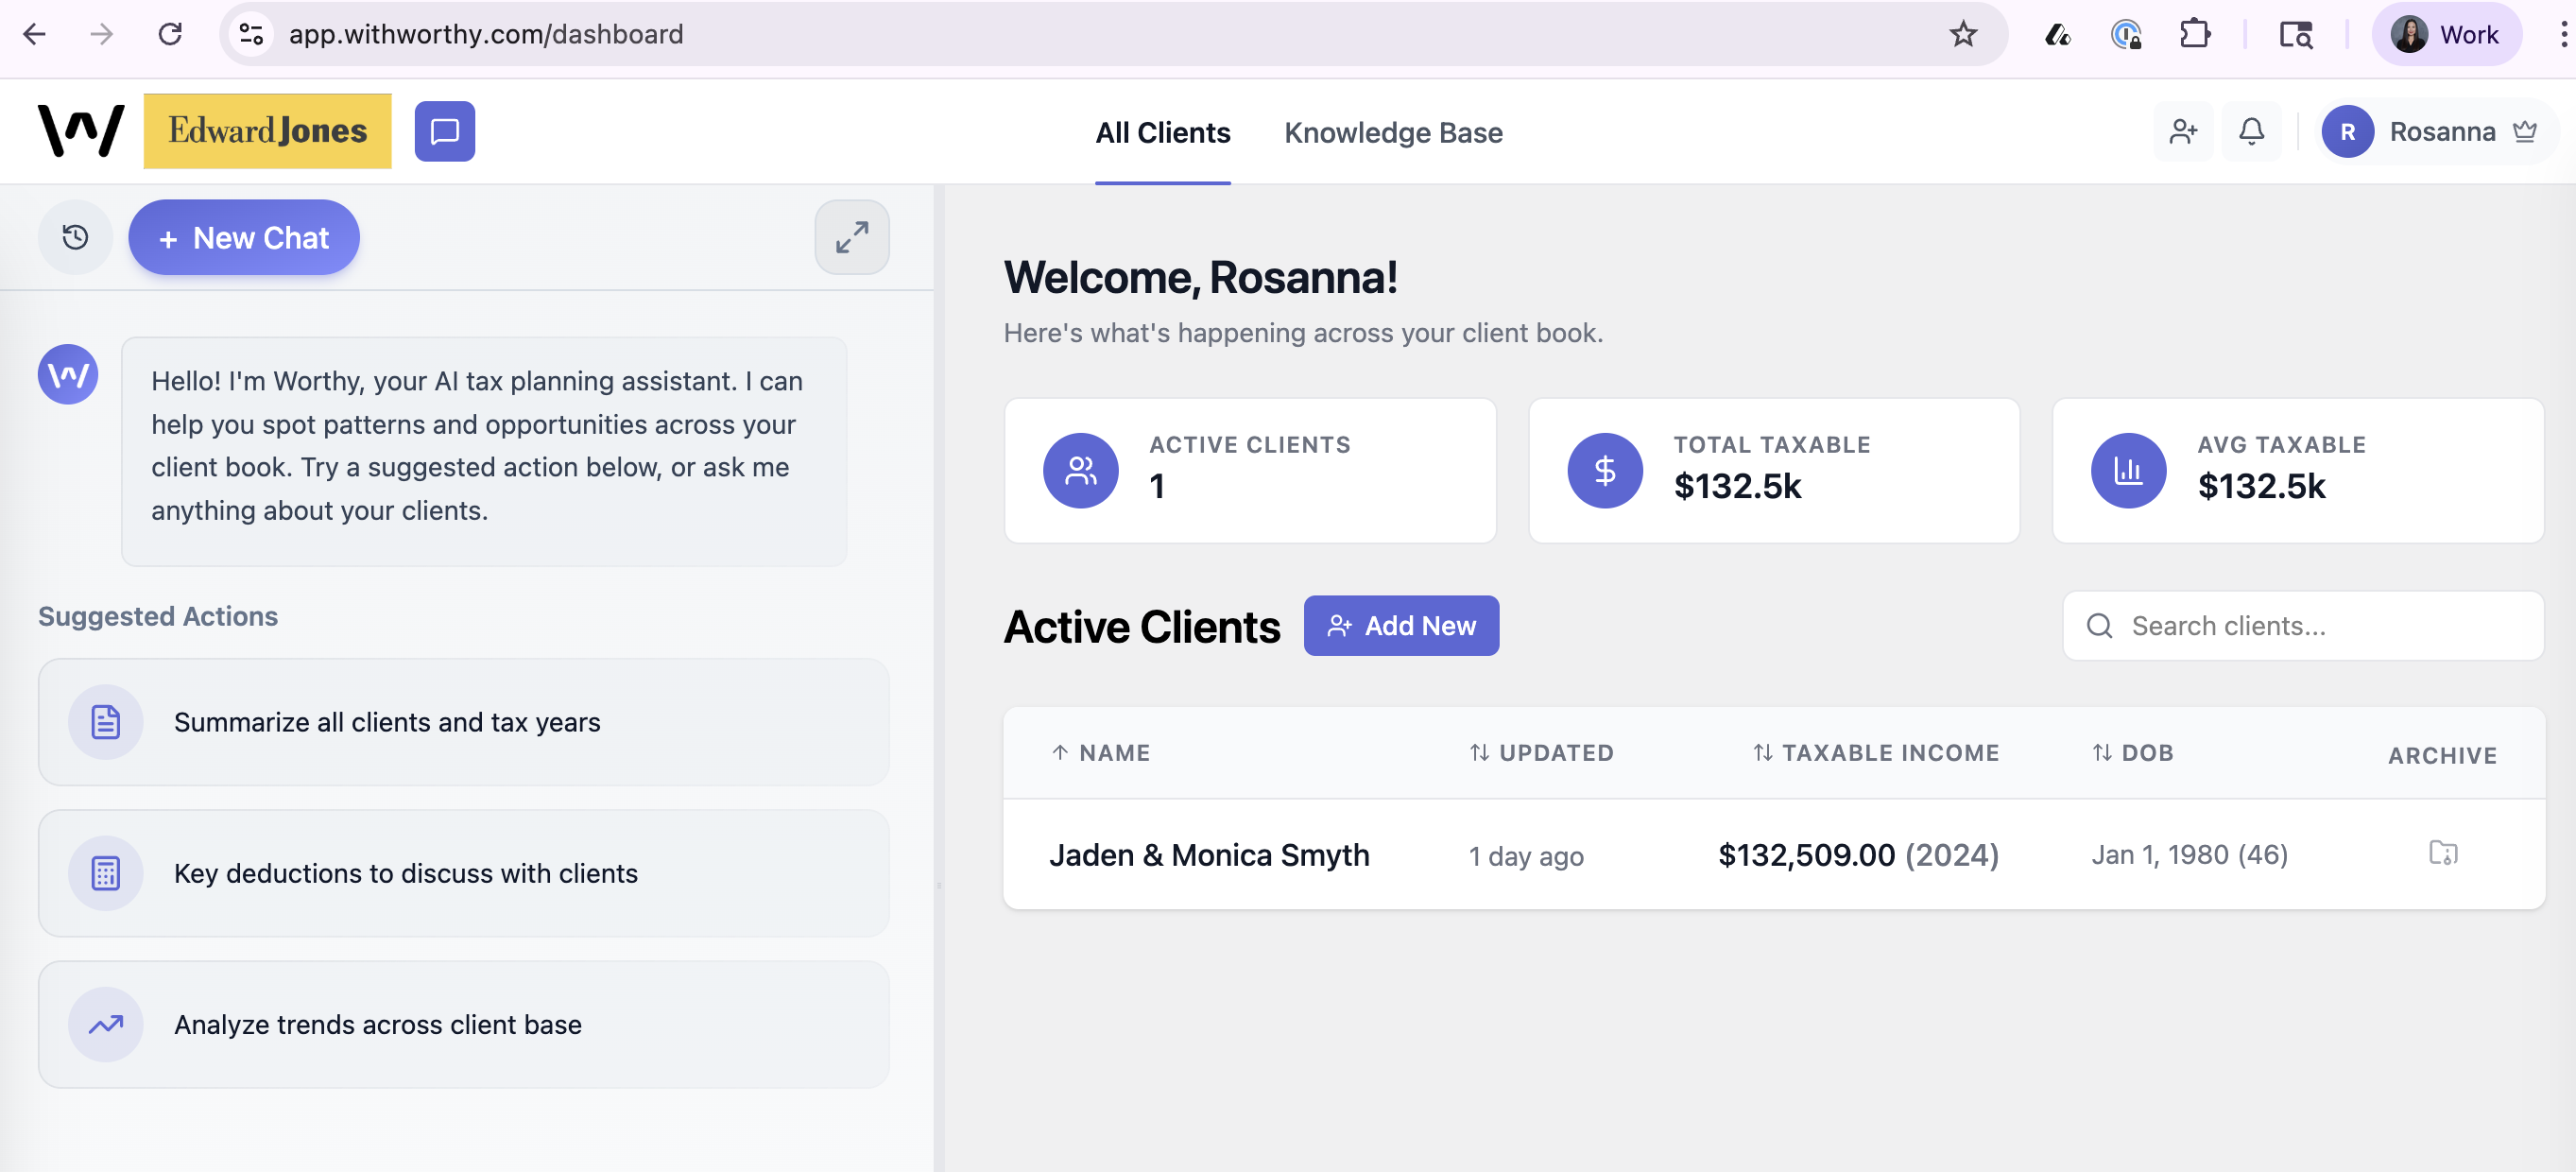
(1) Initiate the request
Locate and click the "Add New" button on your dashboard to start a new client entry
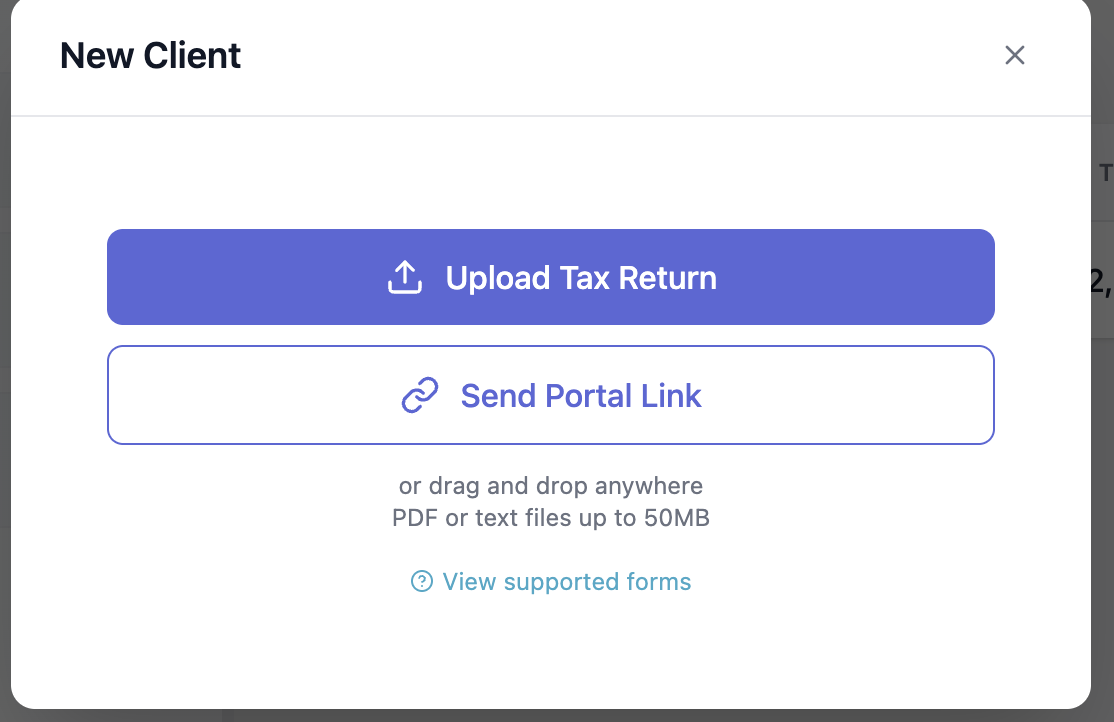
(2) Select the link option
From the available actions, click "Send Portal Link" which generates a secure, unique space for clients to upload documents
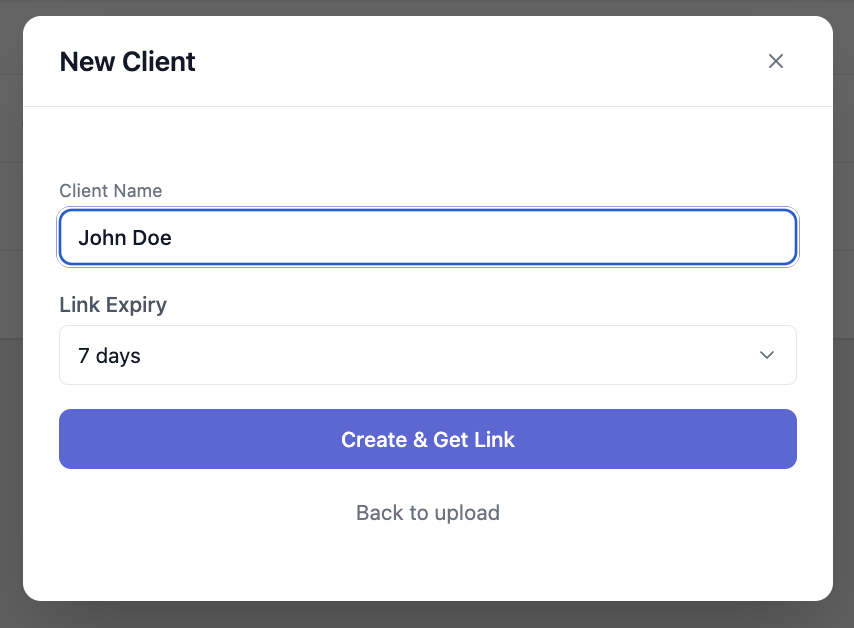
(3) Add client
Type the Client’s Name ("John Doe" in the example below) in the designated field, then click the "Create & Get Link" button
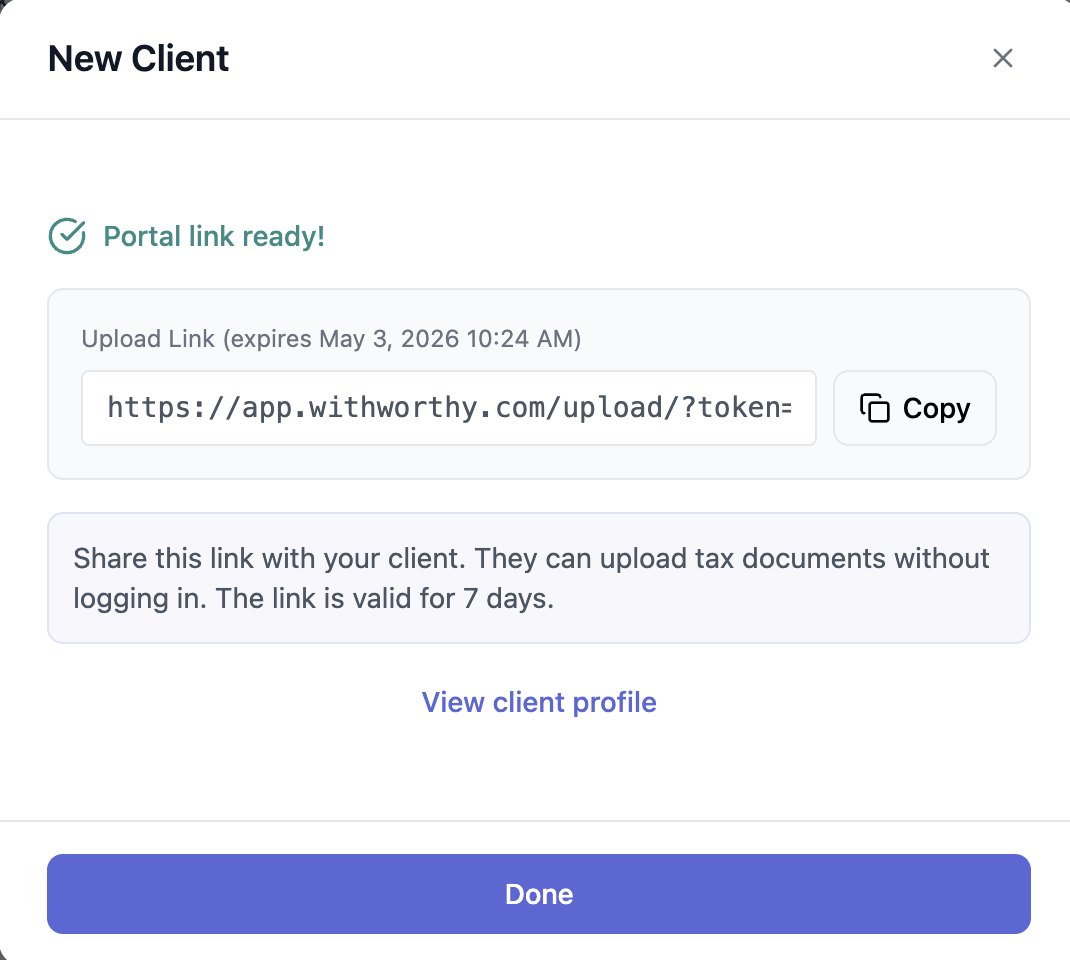
(4) Share the Access Link
Copy the generated link and send to the client
Tracking Progress
(5) Monitor Document Status
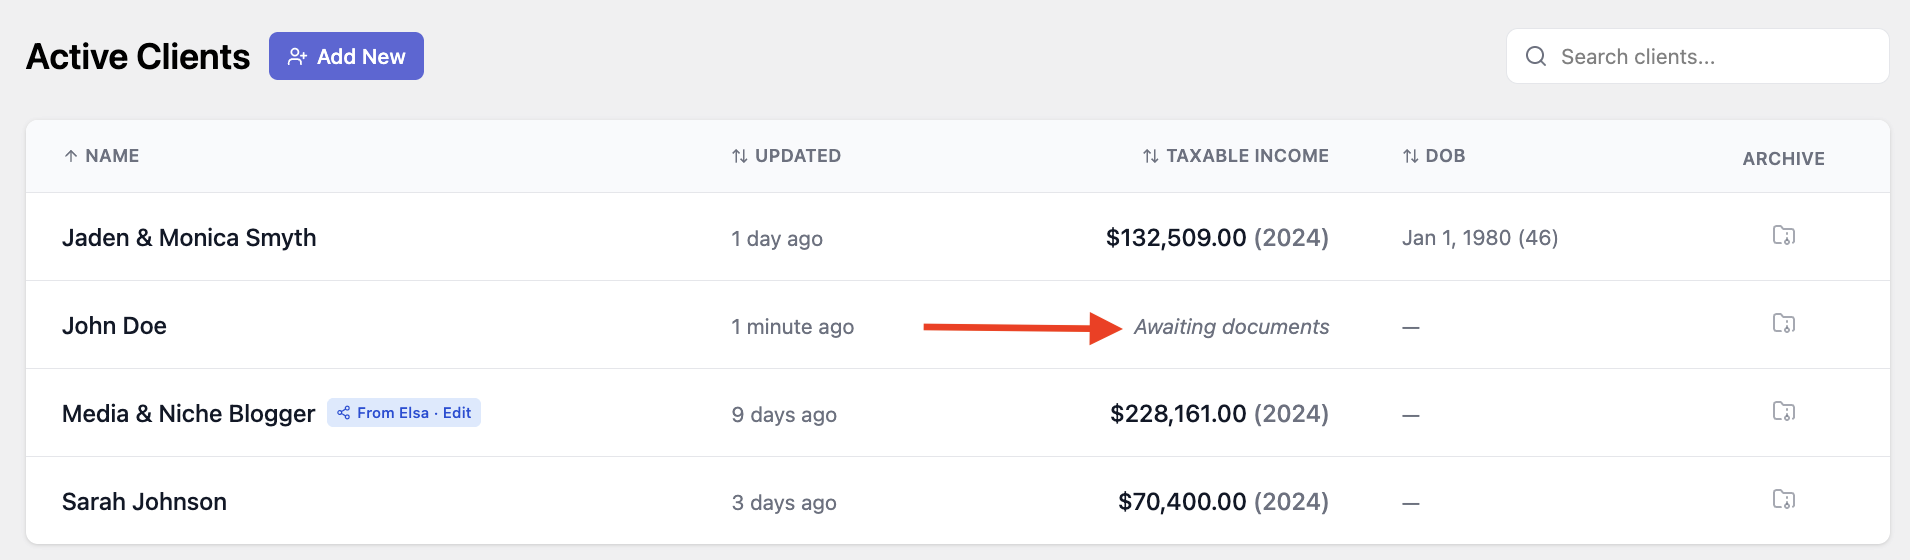
Once the link is sent, the client will appear on the "Active Clients" list
- Status Indicator: Look for the "Awaiting documents" status
- Automatic Update: This status will update automatically once the client completes their upload
For existing clients (have a client upload more more documents to an existing client profile)
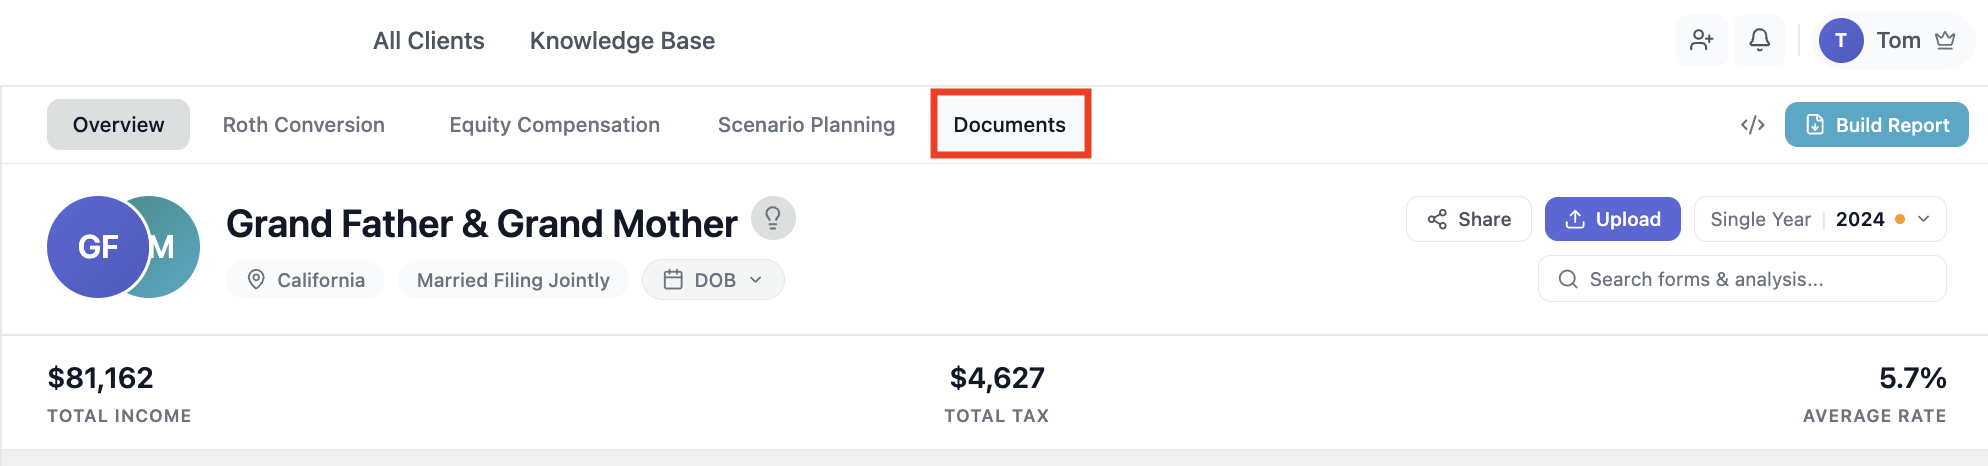
Click on the client you want
Click Documents
Click Send Portal Link
Set the link expiry to your preference (unlike new client links, you can customize the expiration time)
Click Generate Link
Copy the link and send it to your client
If you run into any issues, reach out at hello@withworthy.com.